New: PatMaker factory panels
Place artwork on the original 12-panel Evo9X XLARGE hoodie template, save your project, and prepare actual-size panel PDFs.
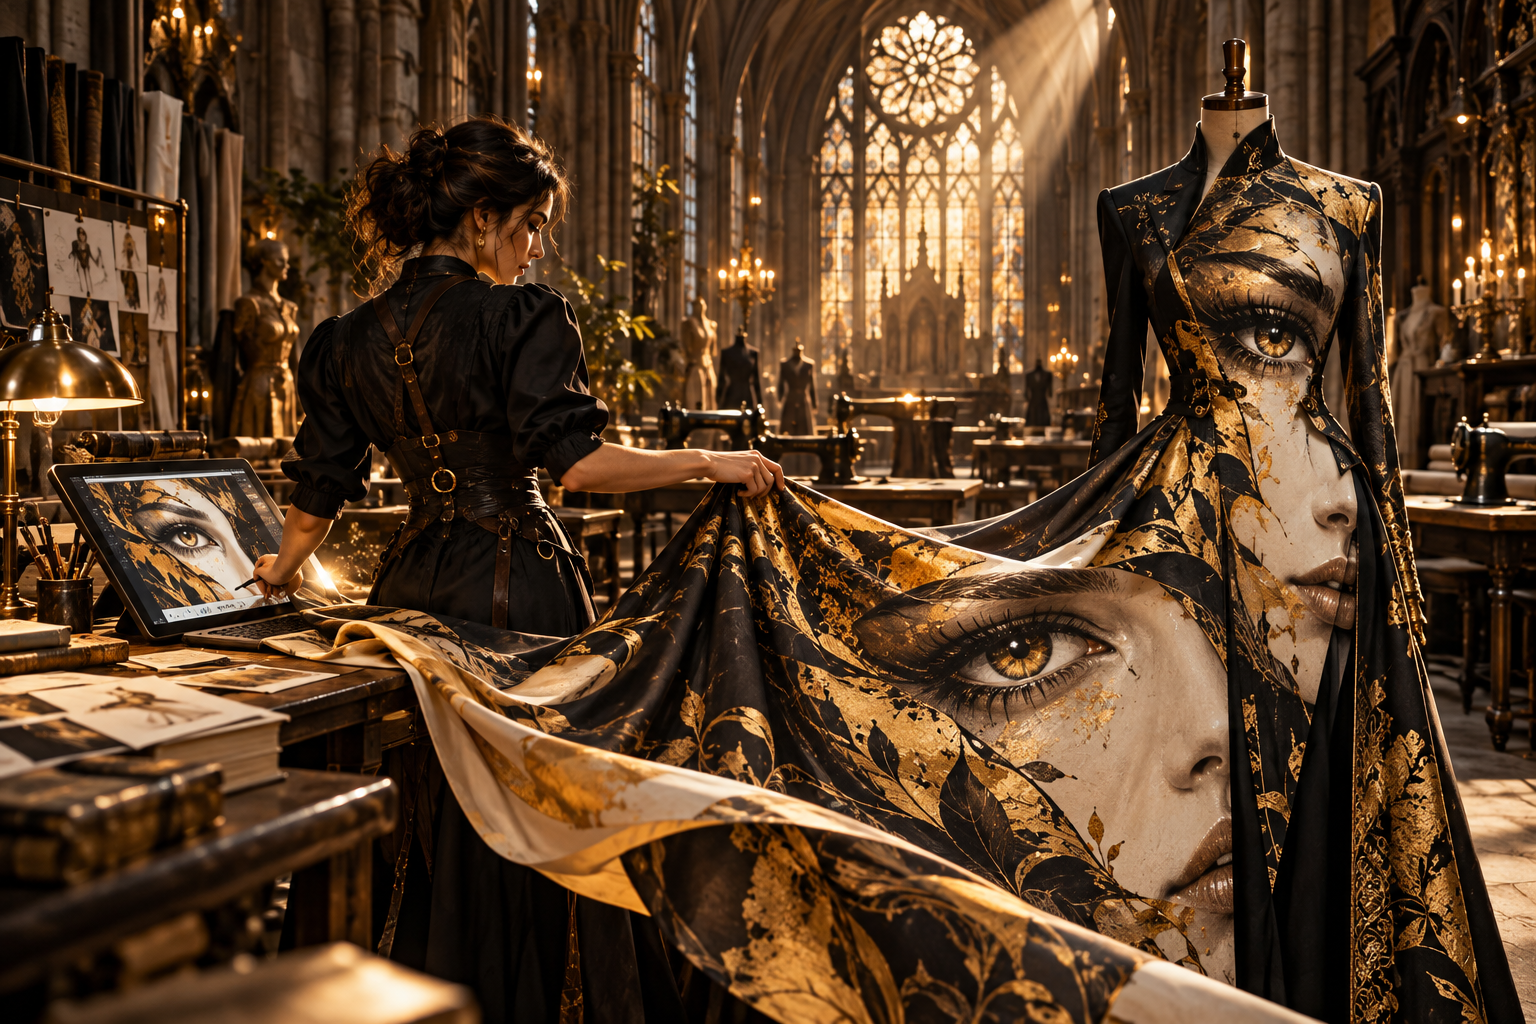
KOS CLOTHING STUDIO
Your imagination. Taking shape.
Start with your photograph, logo or artwork, including an image you have created with AI. Choose a garment and make the design yours.
KOS · LEARN THE GARMENT-DESIGN PROCESS
Learn how to design your garment with Vilma
See how an image becomes a garment design. Follow Vilma from opening Clothing Studio and uploading your artwork to positioning it on the front, back, sleeves and hood. Review every panel, explore four appearance views, and learn what must be approved before a separate production package reaches the factory.
This is the practical process KOS teaches: create, review, refine and prepare for production.
3:21 · Narrated demonstration with on-screen captions.
Available now: artwork placement, saving designs and requesting a garment review. Automated AI previews and submission steps shown in this video are proposed workflow demonstrations, not live order functions. AI appearance images are for review only—not factory production files.
Start my design → Explore what KOS teaches → Request a garment review →
Course enrollment, production pricing and delivery are confirmed separately. The delivery estimate in the tutorial applies only to eligible, confirmed orders.
Choose your garment and place your artwork
Choose a garment and a piece, then select Add artwork. Use a PNG or JPEG you have permission to use. Returning to a project? Open My Designs.
The King of Steam · First Sketch
Create a Clothing Studio account
Create a KOS website account to save your garment designs. Already registered? Sign in to the studio.
Follow the confirmation instructions sent to your email, then return to the studio to sign in. We do not automatically sign you in after registration. Your account uses the website’s existing verification and password policies. Privacy Policy.
Back to Clothing StudioHappy with the direction?
Save your design, then tell us its name, the garment you have in mind, approximate quantity and target date. On the contact form, enter “Studio garment review” in “What brought you here?” and include the design name in your message. We will discuss the sample and production review.
The editor makes design previews. Manufacturing requires approved patterns, artwork checks and an agreed scope. Integrated AI generation and automatic production export are not currently available.
Your first design is the beginning.
Learn how artwork becomes a garment in Level 1, how to present a wearable campaign in Level 2, and how QR experiences and product information connect in Level 3.
Explore the three-level curriculum · Bring this learning to your school or organization
Need a hand?
Select a panel, add your image, and use the position, scale and rotation controls. Review each required piece before saving. Open the detailed artwork and QR guide.
Step-by-step artwork, QR and sample guide
Clothing design · Start here
From an idea to a garment people can scan.
You do not need clothing software experience. Before you start, have a person or business in mind, an image or logo you may use, and an idea for the page the code should open. Start with one garment and one sample.
- 01 / CHOOSE
Pick the garment
Browse the hoodie, two-piece bell bottom, bellbottoms, cape, leggings or jersey collections. Think about who will wear the garment and where. The editor provides artwork-placement outlines. Some edges are marked for factory review; you can still place artwork on those pieces for a visual preview.
- 02 / CREATE
Bring your artwork
Bring a clear image of your logo, photograph or artwork. PNG and JPEG are common image file types. Use work you own or have permission to use. If you have only an idea, ask KOS to help create the artwork.
- 03 / PLACE
Work panel by panel
Sign in below and choose a garment template, which is a visual outline. A panel is one part of the garment, such as a front, back or sleeve. Select one part and add your image. Drag with one finger or a mouse to move it. Use the Scale and Rotation sliders to change its size and angle. The +/− buttons zoom your view, not the printed artwork. Check every visible part. These outlines are not final sewing patterns.
- 04 / SAVE
Come back to it
Select Save, then open My Designs with the same account. Reopen the item and check your image and placement. If it is missing, keep the original tab open and tell KOS what happened.
- 05 / CONNECT
Add a QR preview
Choose the page a scan should open. In QR Studio, make the code and export a square PNG or JPEG with its clear border intact. Back in the garment editor, select a part, open “Optional QR code & quality review,” choose the QR image, and use its position and size sliders. Save again. If you have no page or code yet, ask KOS to help. The preview is not proof that the printed code will scan.
- 06 / SAMPLE
Print, scan, improve
Tell KOS where you would like the QR code. KOS checks the print file, size and fabric, then makes a sample. Scan the printed sample with at least two phones in the lighting where it will be worn. Open the link and try its next action. Approve production only after both the garment and scan work.
Where should the QR code go?
Pick a place a person can comfortably show to someone else. Keep the code on a reasonably flat, readable area with strong contrast and a clear blank border. Avoid a seam, heavy fold, stretch zone or artwork that makes the code hard to see. Test the printed material, not only a code on a screen.
- Clothing Studio: preview and save both garment artwork and an optional imported QR image on a selected part.
- QR Studio: use the separate QR workspace to create the code and link, then export a square image with the clear border intact. You may ask KOS to handle this step.
- Production: KOS confirms the print size, placement, files, sample and price with you. A saved studio design is not a production order.
What happens after you save?
Select All pieces in the editor to see the designed garment parts together in one flat view. The garment outlines are fixed; you place images on them, but you cannot redraw the pattern shapes in this workspace.
That flat view is a review step. It is not a downloadable print layout. KOS reviews every part, artwork quality and QR placement with you. The next customer-facing feature is a rotatable 3D view of the finished design on the approved garment shape. It is not available in this editor yet. The factory handles size grading from its approved pattern, from children’s extra small through men’s 5X where that garment is offered. Customers do not resize the pattern here.
After approval, KOS handles the production file and uses the existing Dropbox link and factory intake email for order sizes, quantities and instructions. Print resolution and PDF requirements are checked in that production process, not set by the customer in this preview. The factory checks the files and sample before final printing and sewing.
Words used here: A template shows the garment shape on screen. A panel is one visible part. Scale changes the artwork size; Zoom changes only your view. A QR destination is the page the code opens. A sample is the first physical garment you test.
Teaching path: Start here, build a first sketch below, then use the three-level KOS curriculum to learn the wider design, development, production and launch decisions. Enrollment for full lessons is coming soon.
It does not generate print-ready cutting files or place orders. We confirm manufacturing details separately.
 Your clothing. Your campaign. Your numbers.Watch the full story and try the advertising calculator →